Continues from Part 2.
Historian is the next part of the HPA (Humanly Posable Armature) Doll project.

 .
.
If you just arrived and landed here, you can see the detailed description of the parts and tools here.
All Tools and Materials Used in This Project:
Sculping Head Stand (to sculpt head in peace, provides a grip, prevents rotation)
Mini Human Skull Reference Model (sculpting reference)
1:6 scale Male Anatomy Reference Model
Living Doll Polymer Clay (to sculpt)
X-acto knife (to cut things)
manual drill handle and 5/32 drill bit
(to drill the hole in the head)
1 round brass tube 5/32″ (to make head, hands and feet removable)
32 joint compression plates (for joints)
28 ball joint screw (for joints)
16 M2 x 10 mm screw (for joints)
20 M2 hex nut (for joints)
4 brass connectors M2 x 5 mm (to connect joints)
11 brass connectors M2 x 10 mm (to connect joints)
6 brass connectors M2 x 20 mm (to connect joints)
2 chest/hip connectors
tube cutter (to cut the tubes)
wire cutters (to cut the screws to size)
long nose serrated pliers (to hold things tight)
ice pick (to open the tube ends – after cutting the diameter on the cut end becomes a bit smaller)
allen key (for hex nuts)
compass divider (to measure things)
6 mm ring magnet (for magnetic wrist joints)
7 mm brass tube (for magnetic wrist joints)
JB Cold Weld Steel Reinforced Epoxy (to secure threaded balls and connectors, joint sealant)
cotton-covered wire (for fingers, I am using 32GA)
Cat Tongue Sculpting Brushes (micro sculpting smoothing brushes)
Translucent Liquid Sculpey (liquid clay)
ball-point stylus tools in different sizes (sculpting tools)
Eye Stick (modifed “That’s the one” Tool” – see the description below)
hook micro tool (one of A. Mergold micro sculpting tools
)
silicone color shaper, size 2, firm (sculpting tools)
Polymer Oil (smoothing oil) (smoothing oil for polymer clay, thinning agent for genesis paints)
Genesis heat-set paints (individual) or Genesis Paints Face Blushing kit
fine detail brushes (for painting face)
Tibetan lamb fur (Snow White, Silver Grey)
Fabritac glue (glue foam, fabric, leather, etc)
small sharp scissors (for cutting things)
toothpicks (to mix and apply epoxy and glue)
small thin micro spatula (to tuck the ringlets into the hairline, fabric seams, sculpting tool)
buffing sponge (to polish clay and to hone wooden tools)
soft padding foam (for padding)
tubular gauze (for stockings)
miniature buckles (for shoes)
green stretch velvet (for britches)
miniature buttons (for clothes)
fine victorian cotton voile fabric (for shirt)
glove leather (for shoes)
thin felt (for waistcoat)
Britches
I am really sewing this time – everything, including the buttons. Yes, these tiny 3mm metal buttons
can be sewn on. I tried all the needles I had and found a thin one that goes through the holes. The britches are made out of green stretch velvet.
Mirror description is here.
 .
.  .
.
 .
.  .
.
 .
.
And in motion!
I know I have a lot to learn about Stop Motion Animation, at the moment it is rather crude, but for now I am just having fun. And there are some glimpses when he look alive!

Historian is fully dressed.
His shirt is made out of cotton voile fabric.
Waistcoat – out of thin felt.
Next – furniture and accessories.
 .
.  .
.
 .
.  .
.
 .
.  .
.
And another stop motion animation practice
1. Photos taken with iphone, OSnap iphone software.
2. Photos aligned and batch cropped with Photoshop.
3. Edited and created with DragonFrame (trial).
107 frames, 12 frames per second.
Chair
Historian got his chair.
It is a little over the top, I almost decided to make another one – less ornate, but my family said that “they were fancy at that time”.
Well, so it stays.
Tools and Materials for the Chair
It was made similar to the Mirror.
– wood cutout 4″x4″ for the seat
– balusters for legs and back supports
– wooden skewers for the frame
– mini saw to cut the skewers
– magic sculpt epoxy putty for carved wood effect (see description below)
– silicone molds for carved wood effect (see description below)
– super glue
– long nose pliers
– scissors
– cardboard
– ice pick to start the holes before drilling
– manual drill handle and drill bits
– ruler and compass divider
for measurements
– velvet fabric (for upholstery)
– small thin micro spatula to clean up the mold, to tuck upholstery into the frames
– toothpicks for magic smooth epoxy
– forceps to hold things
– wooden beads for decoration
– Decoart acrylic paint Umber Brown
– Minwax wood finish
– jewelry findings for brass tacks
 .
.  .
.
 .
.
 .
. .
.
 .
. .
.
 ..
..
 .
. .
.
. .
.
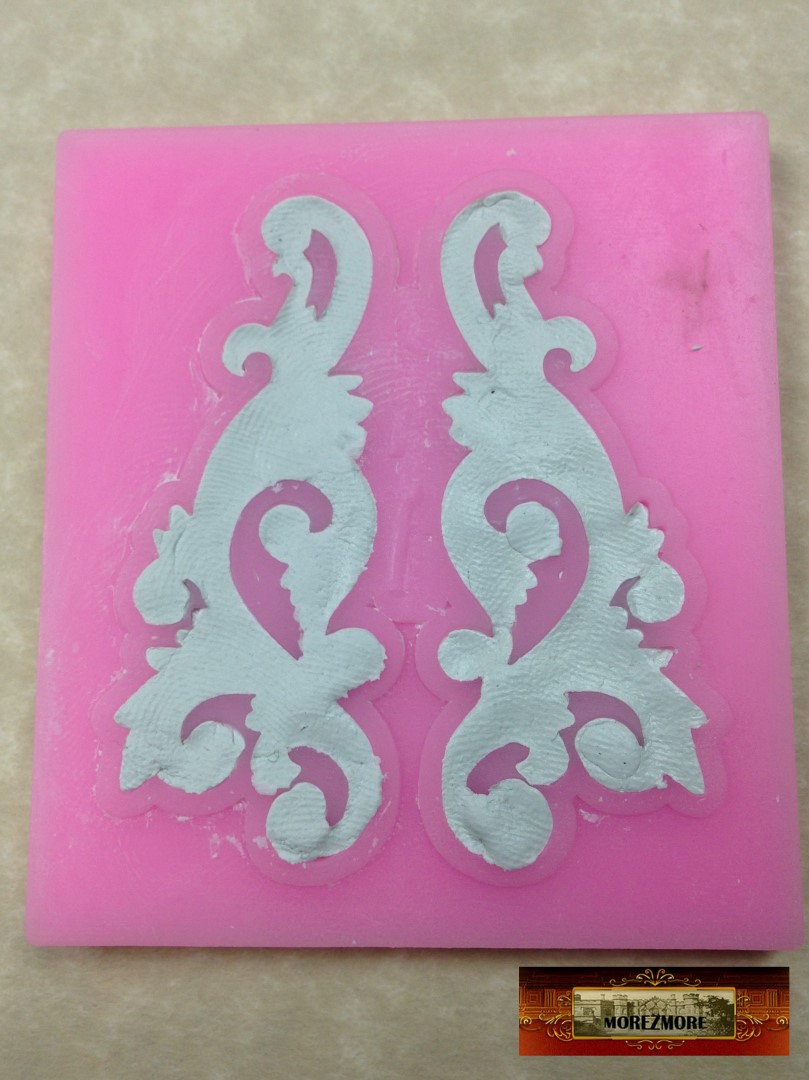
Using silicone molds to create the “carvings”
1. Mix magic sculpt epoxy putty (or use polymer clay, or air dry clay, or Sculpey UltraLight polymer clay).
2. Fill up the mold.
 .
.  .
.
3. Press down well to pack.
4. Cut off and remove the excess clay.
 .
.  .
.
5. Clean it up to make flat with the surface.
6. Let harden a little – so that it is not fall apart when pulled out, but no completely rock-hard.
7. Apply with glue and shape into a “carving”.
8. Paint with brown acrylic paint which works as a primer.
9. Paint with wood finish.
 .
.  .
.
Here are 2 other molds used for this chair:
 .
.  .
.
 .
.  .
.
Thank you.
To be continued

[…] Continues on Part 3 […]
LikeLike
I’m loving the animation scenes! do you think you will try DragonFrame – the stop motion software? i found it fairly easy to pick up but it isn’t that cheap unfortunately. We normally work on 25 frames per second to give you an idea but let me know if you need any animation tips :). His shoes look good too, love those little buckles!
LikeLiked by 1 person
Thank you, Michelle! Yes, I am going to get DrafonFrame, although not immediately – need to set some money aside. I also need to buy the camera, so it will be a good amount of money. Meanwhile, I will experiment with less expensive and free software. Yes, your tips will be very welcome! I would love to hear from you. Thank you so much.
LikeLike
Yes the camera can be really expensive. I don’t have one because I am lucky enough to be able to borrow one (and tripod and lights) from the local university i study at. Maybe there is somewhere you could borrow one from until you get used to it?
LikeLiked by 1 person
My plan for now – I will just use my iphone, make jpg, find the software that takes jpg and convert them into small videos. This way I will test different software (free and cheap ones), until I know what it is all about. Then I will consider dropping almost a grand on DragonFrame and camera. I know my videos will be somewhat medicre from the technical point of vew, but my main focus is puppet making, stop motion is really for illustration purposes.
LikeLike
[…] ← Morezmore – Historian – HPA Doll – Part 3 […]
LikeLike
[…] Morezmore – Historian – HPA Doll – Part 3 […]
LikeLike