Historian is the next part of the HPA (Humanly Posable Armature) Doll project.
. 
 .
.
If you just arrived and landed here, you can see the detailed description of the parts and tools here.
All Tools and Materials Used in This Project:
Sculping Head Stand (to sculpt head in peace, provides a grip, prevents rotation)
Mini Human Skull Reference Model (sculpting reference)
1:6 scale Male Anatomy Reference Model
Living Doll Polymer Clay (to sculpt)
X-acto knife (to cut things)
manual drill handle and 5/32 drill bit
(to drill the hole in the head)
1 round brass tube 5/32″ (to make head, hands and feet removable)
32 joint compression plates (for joints)
28 ball joint screw (for joints)
16 M2 x 10 mm screw (for joints)
20 M2 hex nut (for joints)
4 brass connectors M2 x 5 mm (to connect joints)
11 brass connectors M2 x 10 mm (to connect joints)
6 brass connectors M2 x 20 mm (to connect joints)
2 chest/hip connectors
tube cutter (to cut the tubes)
wire cutters (to cut the screws to size)
long nose serrated pliers (to hold things tight)
ice pick (to open the tube ends – after cutting the diameter on the cut end becomes a bit smaller)
allen key (for hex nuts)
compass divider (to measure things)
6 mm ring magnet (for magnetic wrist joints)
7 mm brass tube (for magnetic wrist joints)
JB Cold Weld Steel Reinforced Epoxy (to secure threaded balls and connectors, joint sealant)
cotton-covered wire (for fingers, I am using 32GA)
Cat Tongue Sculpting Brushes (micro sculpting smoothing brushes)
Translucent Liquid Sculpey (liquid clay)
ball-point stylus tools in different sizes (sculpting tools)
Eye Stick (modifed “That’s the one” Tool” – see the description below)
hook micro tool (one of A. Mergold micro sculpting tools
)
silicone color shaper, size 2, firm (sculpting tools)
Polymer Oil (smoothing oil) (smoothing oil for polymer clay, thinning agent for genesis paints)
Genesis heat-set paints (individual) or Genesis Paints Face Blushing kit
fine detail brushes (for painting face)
Tibetan lamb fur (Snow White, Silver Grey)
Fabritac glue (glue foam, fabric, leather, etc)
small sharp scissors (for cutting things)
toothpicks (to mix and apply epoxy and glue)
small thin micro spatula (to tuck the ringlets into the hairline, fabric seams, sculpting tool)
buffing sponge (to polish clay and to hone wooden tools)
soft padding foam (for padding)
tubular gauze (for stockings)
miniature buckles (for shoes)
green stretch velvet (for britches)
miniature buttons (for clothes)
fine victorian cotton voile fabric (for shirt)
stretch velvet (for britches)
glove leather (for shoes)
thin felt (for waist coat)
Head
I am using this gadget – Sculping Head Stand, small one.
Put the clay (Living Doll in my case) on the top to form the core of the skull and bake.
After it is baked, tighten the core against the wooden ball.
The baked core will sit on the ball and will not rotate during sculpting. When you complete sculpting and bake the head, you can unscrew the head off, just like a drawer knob. There will be a semi-sphere depression – the place for the neck.
For some time I wanted to try making the head starting from a skull.
For reference, I used this Mini Human Skull Reference Model.
 .
.  .
.
Here is the skull – baked.
 .
. .
.
Unscrew.
Remove some clay to loosen up the ball.
 .
.  .
.
Remove the ball.
Open up the hole to fit the tube, with a manual drill handle and 5/32 drill bit
.
 .
.  .
.
Insert 5/32 tube.
 .
.
Neck Joint Test.
 .
.  .
.
 .
.  .
.
Joints
Because there are several ways to put HPA parts together to make the same joint or connection, look at HPA as an “Erector” type construction set for dolls. If you just arrived and landed here, you can see the detailed description of the parts and tools here.
I will, however, name the parts which are used in this particular variant.
In the photos below you will see the completed joint/connection (circled with green line) and next to it – the parts which were used to make it.
The grey figure is 1:6 scale Male Anatomy Reference Model.
 . .
. .
 .
.  .
.
 .
.  .
.
 .
.  .
.
 .
.  .
.
 .
.  .
.
 .
.  .
.
Magnetic Wrist Joints (for 6 mm magnet)
Update: a better way to make Magnetic Wrist Joints is available.
Cut a small piece of 7mm tube to make a brass cup for the magnet.
Straighten it out if got deformed after cutting.
 .
. .
.
M2x10 brass connector is a little too thick to fit into the ring magnet, a a bit of filing down makes a snug fit.
Here it is brass connector inside the ring magnet.
 .
. .
.
Brass connector + magnet fits into the brass cup.
Ball Screw sits inside the brass cup held by the magnet and rotates.
That is the general principle of the “magnetic wrist joint”.
 .
.  .
.
Here are 4 parts that make the magnetic wrist joint, from top to bottom:
M2x10 brass connector
Cup made of a piece of 7mm brass tube
6mm ring magnet
Ball screw.
Cold Weld epoxy is used to secure brass connector, ring magnet and the cup.
 .
. 
Now – attaching the magnetic wrist joint to the arm.
Measure off a piece of 5/32 brass tube (on the proportions chart or anatomy model).
Make an indentation.
 .
. .
.
Cut a piece of tube.
Straighten it out, if it got deformed after cutting.
 .
. .
.
Fit over the elbow joint connector.
Set with Cold Weld epoxy so that it does not move, slip off or rotate.
 .
. .
.
Make a few “bites” – for additional good measure – to prevent slipping off or rotating.
 .
. .
.
Here it is, magnetic wrist joint attached to the arm.
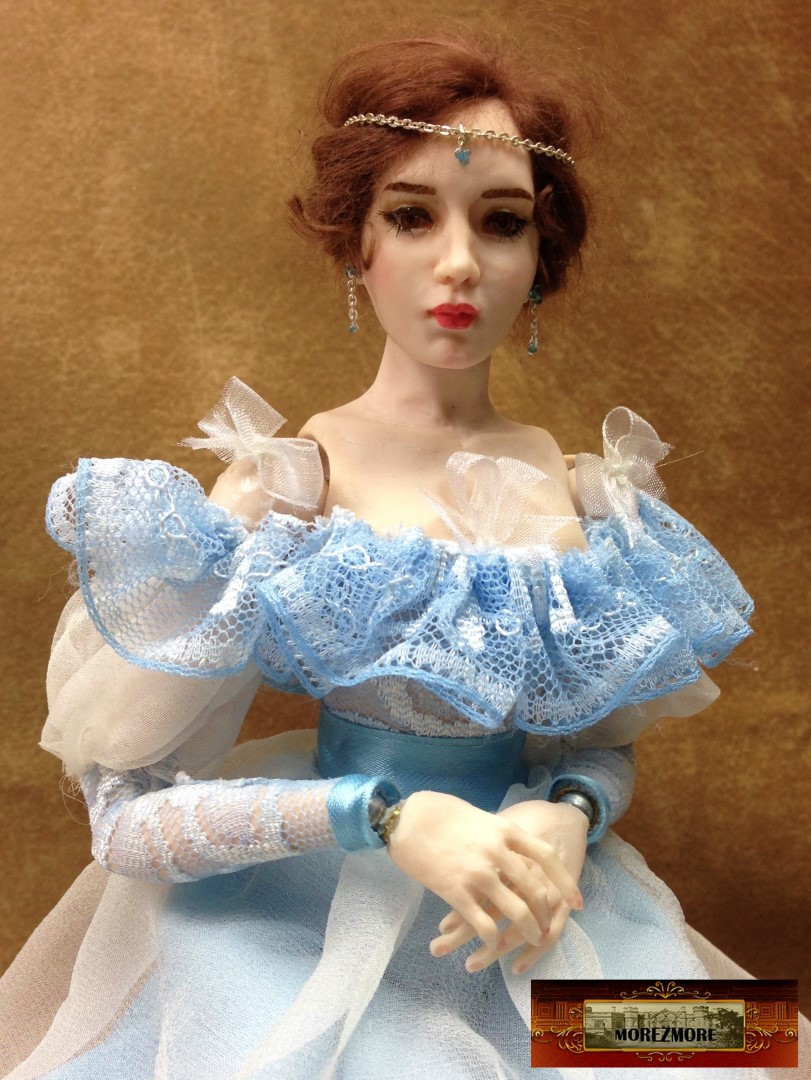
Here is an illustration how the magnetic wrists look in action (Nathalie has magnetic wrist joints). I made the cups a little too deep on her wrists, the more shallow the cup is, the more motion the wrist allows.
 .
.  .
.
 .
.  .
.
 .
.  .
.
Bones
Covered everything in clay and baked.
Update: a better way to make bones is available
Then cut to free joints.
Here is testing/playtime.
 .
.  .
.
 .
.  .
.
.  .
.  .
.
 .
.  .
.
 .
.  .
.
 .
.  .
.
 . .
. .
Next – flesh on the head, hands, body.
Continues on Part 2.
Thank you for watching 🙂

Wow, this looks like an immense project. Certainly over my pay grade. LOL
LikeLiked by 1 person
Wonderful work. I aspire to be as meticulous as you are! Thanks for sharing this.
LikeLiked by 1 person
What a wonderfully interesting read, I have so enjoyed it and I imagine you are in your element with this new voyage of discovery. I will be watching with great interest indeed. Hugs
LikeLiked by 1 person
Thank you, as always, dear Margot!
LikeLike
[…] from Part 1. Historian is the next part of the HPA (Humanly Posable Armature) Doll […]
LikeLike
[…] 68. About magnetic wrist joints. I did not include them into this kit, trying to keep it as simple as possible. It is already a lot to handle. Possibly, I need to make available another kit – with the magnetic wrist joints. But if you are curious how they work, here is the description: Magnetic Wrist Joints […]
LikeLike