Continued from Part 3
TOOLS AND MATERIALS:
– X-Acto knife
– Magic smooth epoxy gel
– angelina fusible film
– wing wire
– crystal lacquer
– microbeads
– Fabritac glue
– silk gauze
– gold cord
– mini scissors
– disposable brushes
**********
Sandals. I am going to make something resembling these:

I am back – sandals are done. They are easy to make, but just in case you are at a loss how to go about them, here we go:
How to make Sandals (Antique or not)
1. Locate a piece of thin soft leather or suede or felt. I happen to live in an All-You-Can-Eat OOAK supplies store and have an unfair advantage. Therefore, my choice is butterscotch lambskin in antique finish.
Also bring your doll, search the fabric bins for thin metallic cord or silk thread or anything of that nature, get your Fabri-tac glue, a large-eared needle, scissors, toothpicks, and whatever embellishments you can think of – in my case – 2 mm irisdescent microbeads.
2. Make a paper template of the dolls foot and cut out 4 pieces of leather, like on the picture below.


3. If there is hole in the bottom of the foot, like in my case, cut the hole. I happened to have a leather hole puncher which very conveniently did the job (the proof one can never have too many tools), but I would imagine scissors will do the job, although with more difficulty. Glue the top pieces of leather directly onto the sole.
4. Needle helps to thread the cord through the leather.
5. Stick the needle into the bottom of the foot so that it comes up between the toes – that is the starting point. Cut the needle off – you have two long ends of cord.
6. Lace up the cord making the sandal design – all the way to the knee and back down.
7. Put one end of the cord into the needle again, thread through the sole on one side, then do the same thing on another side.
8. Snip off the cord and glue the second part of the leather sole.
9. Trim the edge with scissors, glue a piece of cord all around the sole edge to give the sandals more finished look (and hide the glue)
10. Decorate!


Here is what I have now:


The toga day.
I will need
– about a square foot of white silk gauze
– Fabri-tac glue
– Crystal lacquer
– about 2-3 feet of thin gold metallic cord
– toothpicks
– a brush
– scissors
– X-Acto knife
– glass surface (I am using glass shelves from an old curio cabinet)
– Fabric stiffener, or fast drying ultra hold hairspray (I am using Pantene Texturize)
Silk gauze is a marvelous fabric for OOAK as it is sheer, light, drapes beautifully and comes in delightful colors. The only problem is the edge and finishing it. Although you can leave it as it is, I prefer the clean cut finished edge, especially on this sculpt. So I need to finish the edges on the silk pieces before I make the costume.
1. Think about your costume structure. Take your time and do a bit of considering and cutting and trying and fitting on a doll with pieces of paper napkin – to save on silk gauze in case of a mistake.
1. Cut three panels of white silk gauze.
2. Put the piece of on the glass and paint the edge with crystal lacquer, trying to get the piece flat on the glass.


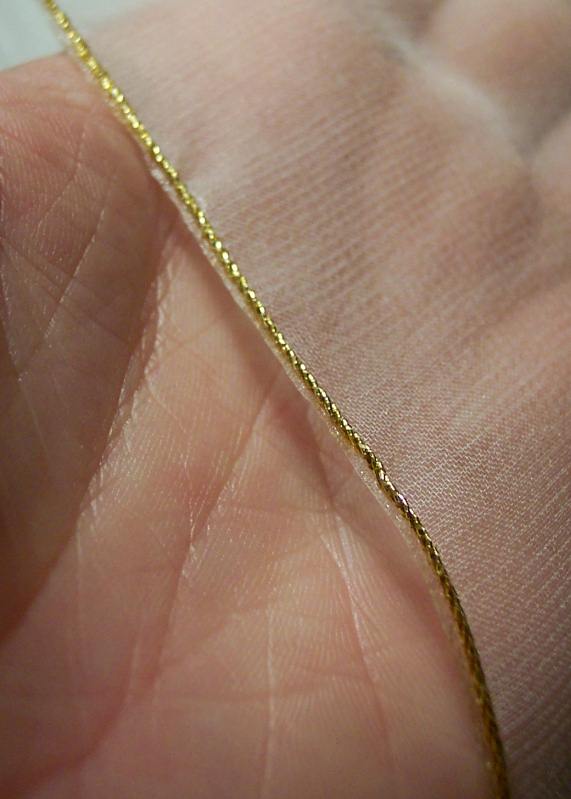
3. Put a piece of thin metallic cord – stretch it a little bit so it is straight and press it flat with a toothpick all around. Paint another layer of crystal lacquer over the cord. The objective is to make it stick evenly to the silk throughout the line. Let it dry – about 30 minutes or so.


4. After the crystal lacquer dries, spray the panels with hairspray – you will need it for draping.
5. After the hairspray dries – a few minutes – draw a line all around the piece with an exacto knife – to release it from the glass). It should peel right off with a bit of prompting with exacto knife. Peel slowly not to damage/pull the silk.
6. Trim the edge accurately, keeping close to the cord. Here it is, very lovable edge.

7. Here are three finished panels of silk gauze – ready for the costume. Put a drop of Fabri-tac glue on the shoulder and place the middle of the narrow panel on that drop. Drape right there on the spot.

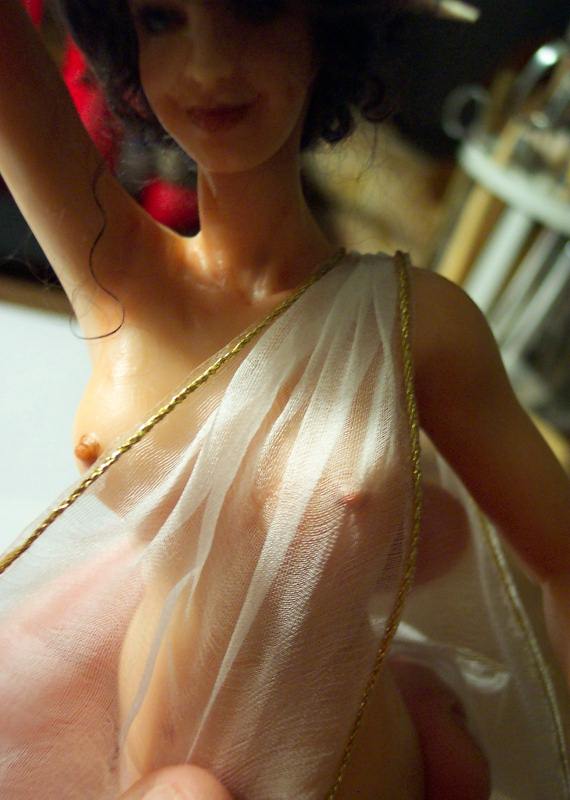
8. Put a line of Fabri-tac around the waist (a bit at a time) and glue the lower edge of the bodice. Keep draping the silk so it looks good – that is your only chance to get it right.


9. Put another line of Fabri-tac around the waist (a bit at a time) and attach bottom panels, keep draping silk as you work.


10. More Fabri-tac glue and a belt around the waist.
11. If you must, mist the whole dress with water and style and pull and drape it, while the water is drying. Carefully add some hairspray if needed, protecting the sculpt from the spray!
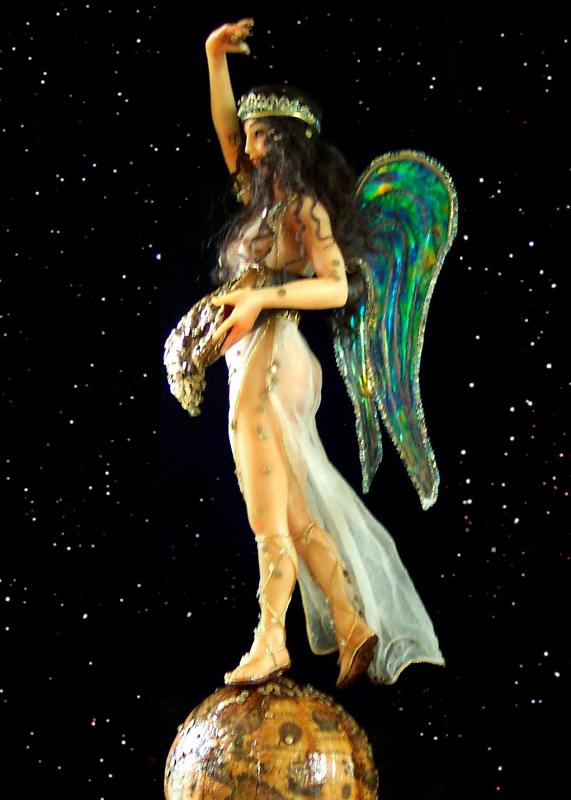
I tried to create the effect of cloth in motion – the way it would hug the knees and billow and trail behind as Fortuna takes a step forward.


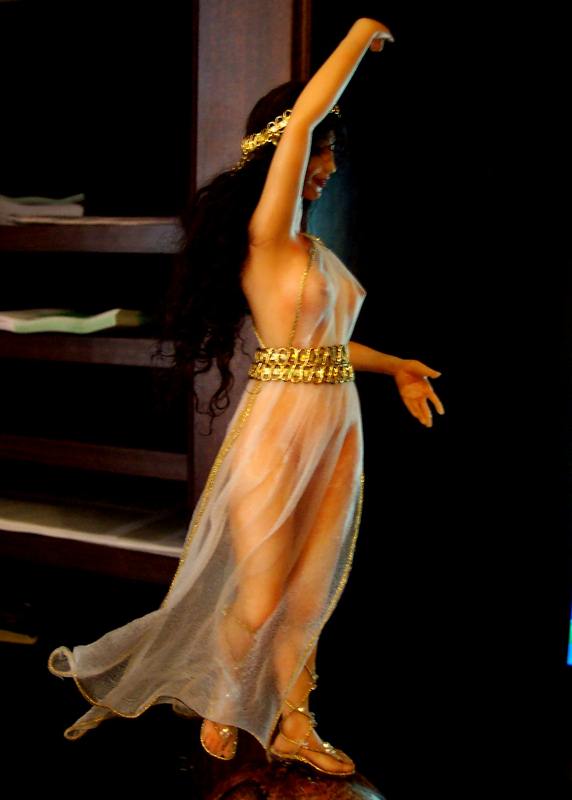


Here is what I have so far:


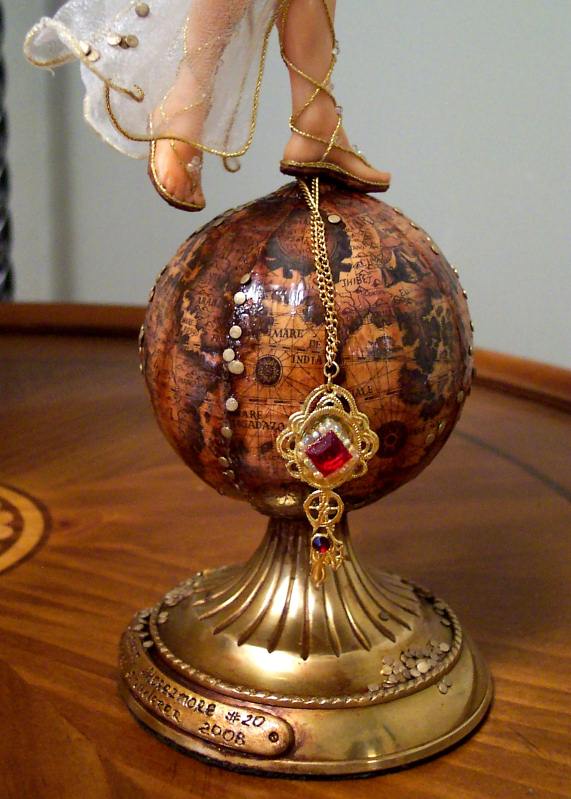
Back to the base:
How to make an “engraved” name plaque
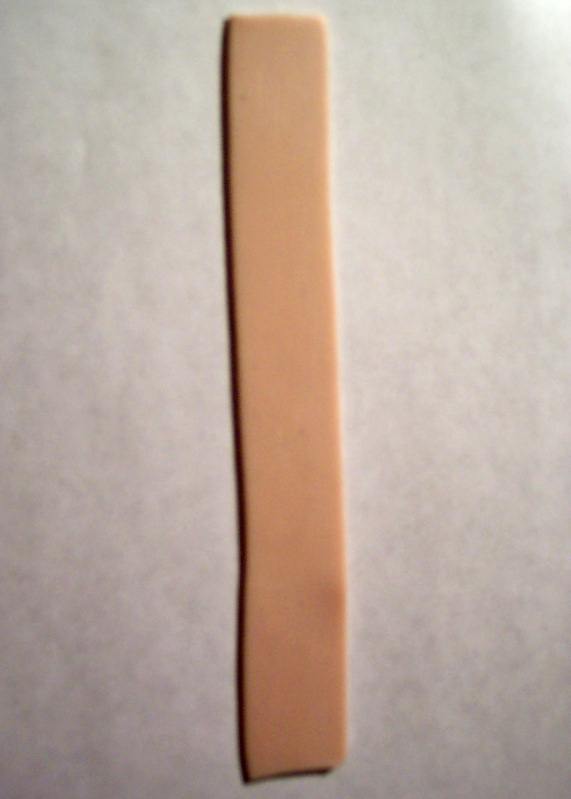
1. Very easy. Put a piece of clay through pasta machine, or roll it flat on a flat surface.
2. Mark the edges by pressing a ruler.
3. With the rubber tip tool write your name, year and the name of the doll.
“Fortuna Morezmore #20 Natasha Landerer 2008”.

4. Cut it out with the exacto knife.
5. Attach to the base and and bake. Make sure that nothing will melt on the base. If the base cannot go into the oven, mold the name plaque on the base, carefully remove and fire it separately, attach with glue later.


6. Paint with gold acrylic paint, allow to dry.
7. Paint with burnt umber OIL paint covering the surface completely. Immediately buff the paint off with a towel. The brown will stay inside the lettering grooves. This one is not painted yet, so here are the pictures of the name plaques on a previous sculpt – to give you the idea:

I also made the Morezmore Key – most Morezmore sculpts have the Morezmore Estate Key. This one is made out of brass filigree finding (metal-cutting scissors are needed – I have a pair of Clauss FSS6) and a couple of beautiful garnets I removed from vintage earrings.

***************************
Next – Painted and finished the name plaque and glued the key.


While I had that burnt umber oil paint on my brush,
– I brushed (almost dry brush) over the parts of globe to “antique” it,
– brushed over some parts of the cornucopia – to blend all parts together, hide the glue, etc
– brushed over the leather soles of the sandals – to make it look like the sandals have been walked in
– brushed over the edge of the felt on the bottom of the base – hides the glue and makes the felt edge look neat and finished
– brushed over the key – to “antique” and blend it together with the rest.

The wings got an edge of iridescent microbeads – to make them look more finished. I tried to take the picture in the natural light, still cannot quite get the irisdescence of the wings on the photo.

*******************
The crown and the bracelet (jewelry findings, iridescent microbeads):


styled the hair, put the crown…

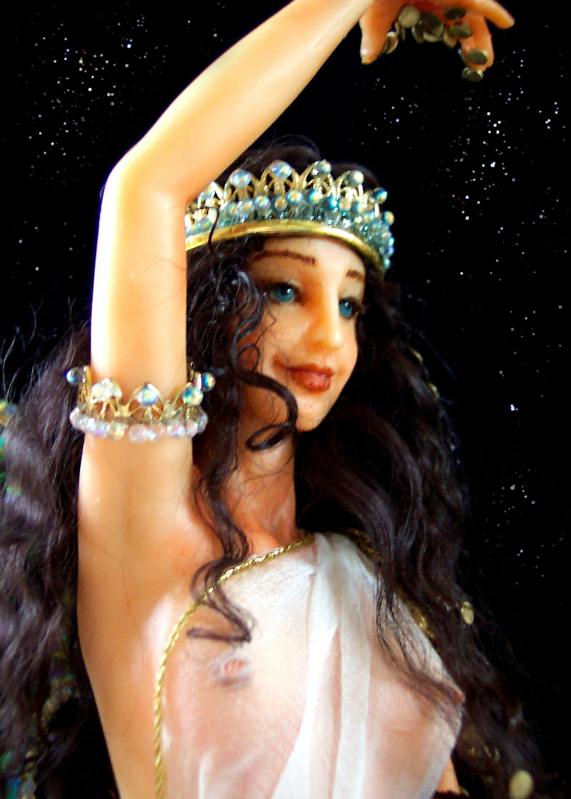


One thing led to another, next thing I know she is finished!


Continues on Part 5

Thank you SO much for your generous sharing of your methods and knowledge.
Aroha (New Zealand)
LikeLiked by 1 person
Thank you, Aroha!
LikeLike
Wow. She’s gorgeous! And I’ve wondered forever how the heck to finish off the edge of silk gauze–thanks so much for the technique 😀
LikeLiked by 1 person
Glad to hear it is helpful 🙂
LikeLike
[…] Continues on Part 4 […]
LikeLike
[…] from Part 4 […]
LikeLike
What fun you must be having. Personally, I have a box of over 100 pairs of shoes, ea. one of kind, mostly made of leather. About one half inches long. Just sat and made them. Don’t know what I’m even gonna do with them. Sell them each individually, I guess. People have asked me when I’m going to quit playing with dolls. HAH!
LikeLiked by 2 people
🙂
LikeLike
[…] from Part 4 […]
LikeLike