Continues from Part 1.
So, first – hands.
In this post I will describe the full process of making silicone hands with wire and ball joint armature (2 sets of hands), report on a couple of experiments and name all the materials used for making these hands (with links to the store).
 .
.  .
.
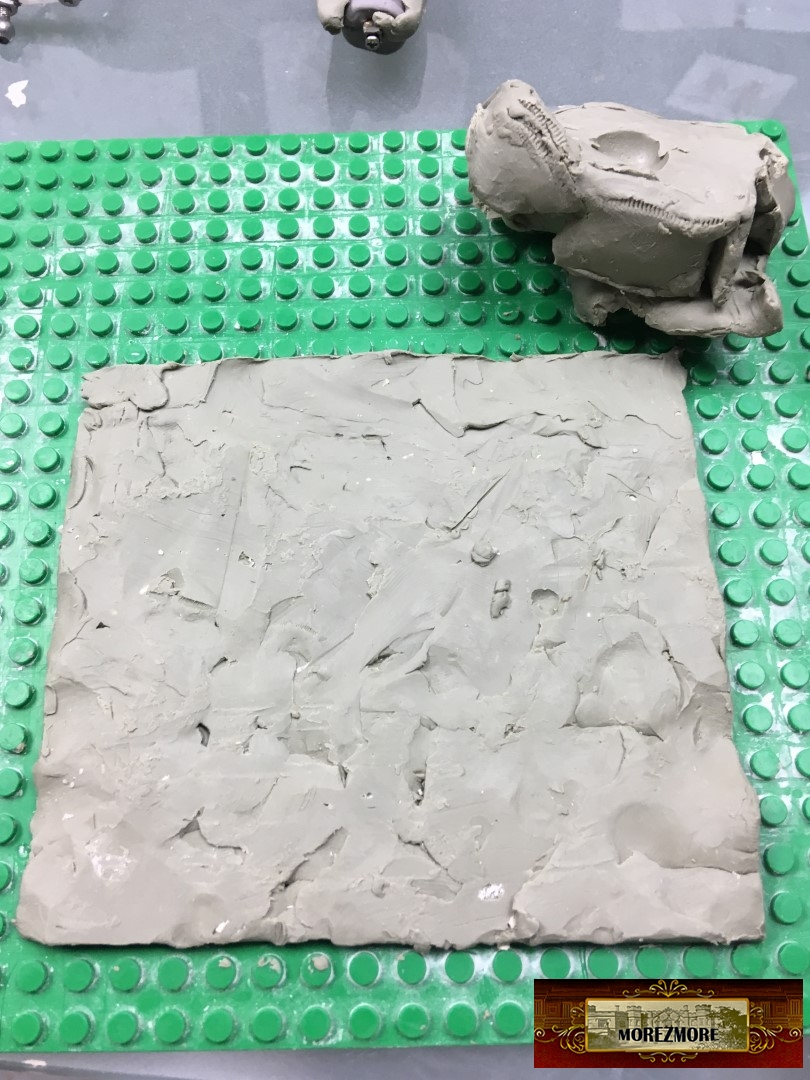
Here are his hands in clay (Super Sculpey Firm, a little larger and more trollish.
They got slightly burned, but will still work for making the mold from them.
 .
.
Lego molding box kit and chavant plasteline clay for mold base.
 .
.  .
.
“That’s the one” wooden detail tool
 .
.  .
.
 .
.  .
.
 .
.  .
.
orange oil has a few uses:
1. neatly cleans up plastiline traces from the prototype.
2. great for smoothing the plastiline bed and seams
 .
.  .
.
 .
.  .
.
3. instantly removes plastiline smudges from tools
 .
.  .
.
4. and from the hands. You still need to wash your hands, but it is much easier. Regular soap does not work well on plastiline and silicone, but it works great once the hands are wiped with orange oil. And the studio smells nice.
 .
.  .
.
ball stylus for making keys.
the vents (those black plastic tubes). I save the plastic handles when these disposable brushes get bad, they work as vents in this case.
 .
.  .
.
 .
.  .
.
Ease Release 205 (will list today-tomorrow) – general purpose silicone based release agent for making molds and casting parts in liquid version.
A dedicated disposable brush taped to the bottle will serve for a long time.
 .
.  .
.
Ultracal 30 (coming soon)
 .
.  .
.
 .
.
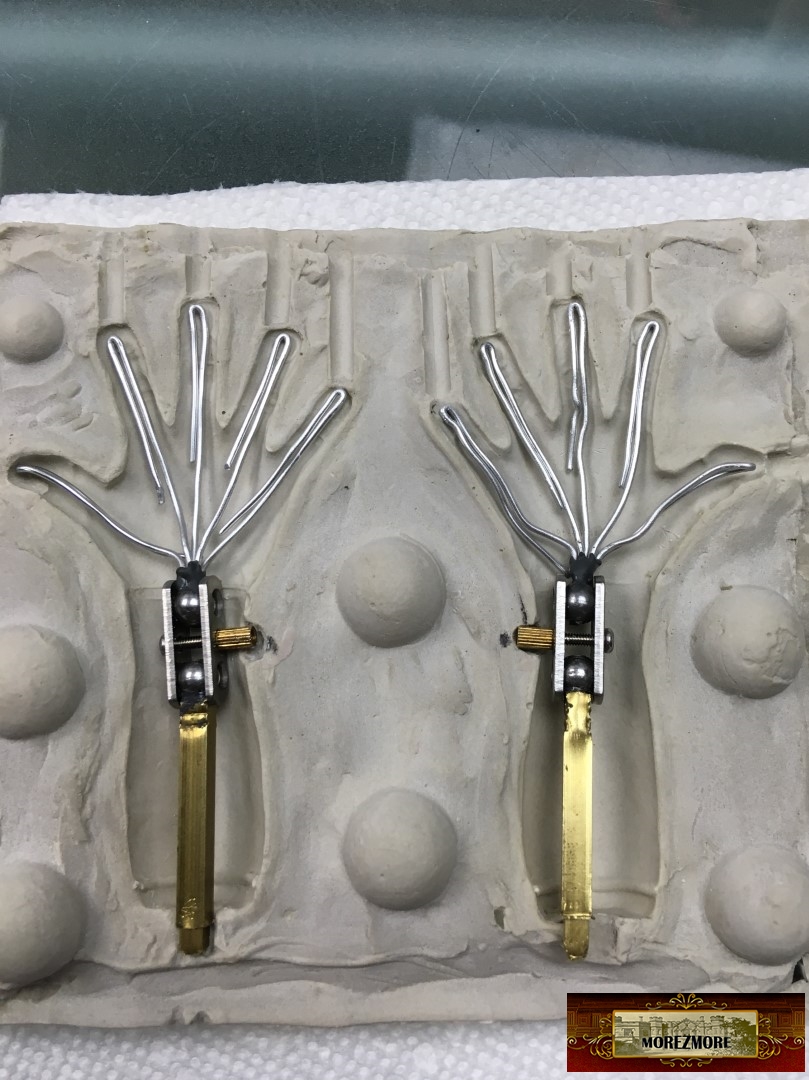
Hand armature:
soft annealed 1mm aluminum wire
M3 threaded balls
 .
.  .
.
 .
.  .
.
J-B Weld Epoxy
 .
.  .
.
M3 threaded balls
M3x16mm threaded rods
compression plates
M2x10mm hex head screws
M2x5mm brass connectors
square brass tubes
 .
.  .
.
 .
.  .
.
polyester sewing thread

 .
.  .
.
 .
.  .
.
 .
.  .
.
First layer of silicone.
Platsil Gel 10 Part B – 3 gram (starting with part B, because Part B is harder to mix, takes longer).
For best results, use a scale
Decoart flesh paint – 0.3 gram
 .
.  .
.
Mixed.
Naphtha (will list today-tomorrow) – 0.3 gram.
 .
.  .
.
Platsil Gel 10 Part A – 3 gram
 .
.  .
.
Mix VERY well.
Ease Release 205 (will list today-tomorrow)
 .
.  .
.
 .
.  .
.
 .
.
Mixed the second batch of silicone, placed the armature, filled up the mold (overfilled – more than in the photo below).
 .
.
Clamped with C-clamps. There is no photo because there is no time to stop for photo between the second you overfill the mold and slap the mold halves together.
Wait until silicone cures. It is easy to check – the silicone oozing from the vents and the leftover silicone in the mixing cup are not longer sticky to the touch.
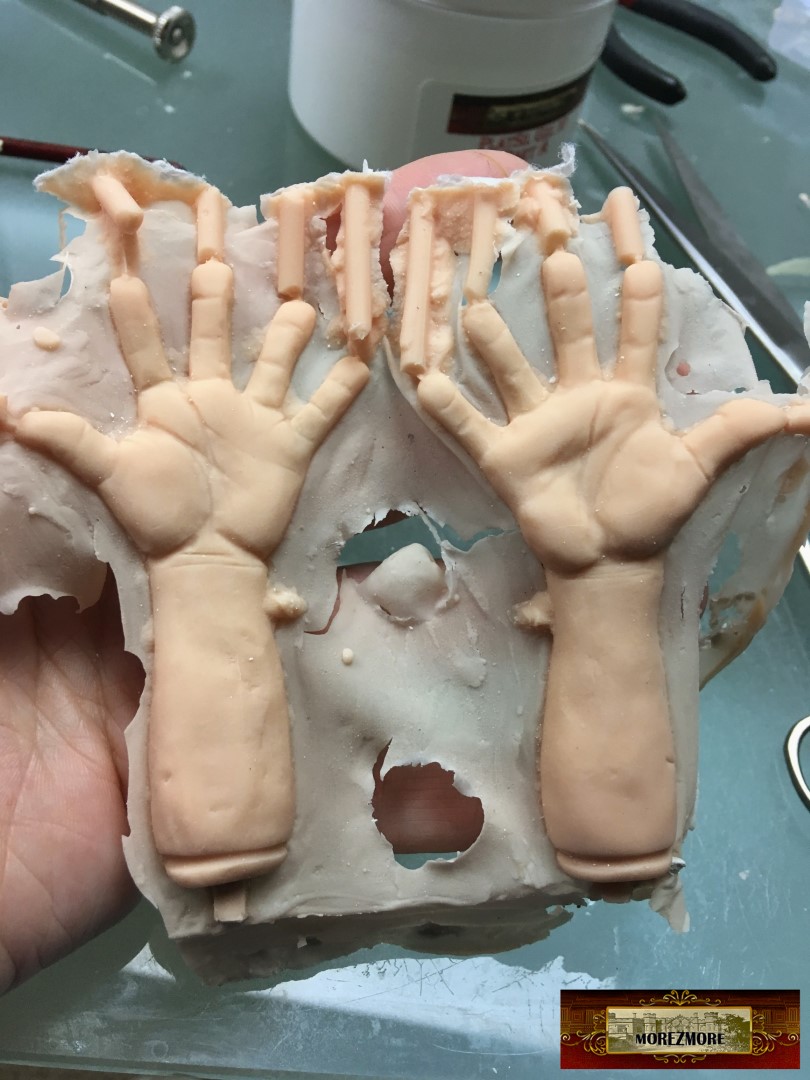
Hands out of the mold.
 .
.  .
.
Trimmed with scissors. Result – pretty good, a couple of bubbles and the wire is sticking out in one spot.
The plan is to mix a little more silicone and touch up.
 .
.  .
.
So I did the silicone touch-up on trouble spots.
My opinion: yes, it works and it is there if you need it, but is best not to have the trouble spots to start with. Brush-on silicone areas are just not as pretty as the rest of the hands.
 .
.  .
.
 .
.  .
.
 .
.  .
.
Hands – Take 2, with improvements
Instamorph: awesome to limit the joint range, too bulky on fingers, this time I am wrapping the finger wires with 0.5mm thin aluminum wire
 .
. .
.
The naked metal slips and slides inside the silicone. That results in the wire cutting through the silicone and sticking out.
So I tested wrapping the metal with stretch foam to prevent it. A layer of glue (I used Fabritac) and then thin ribbons of stretch foam wrapping tightly. It worked beautifully. Stretch foam contours to the joint and hugs the wire, joint and tube tightly. Then silicone seeps through the foam, solidifies and makes a flexible layer which does not slide around wire, joint and tube.
 .
. .
.
 .
. .
.
First layer of silicone – thin “Beautiful Skin” Layer. Do not close the mold.
 .
. .
.
The leftover silicone was used to make “Flesh on Bones”.
The silicone already started to harden when I carefully placed the armatures into the mold, trying to keep it in the middle of the fingers.
Let it fully harden, the armature got stuck to the “beautiful skin” layer – exactly in the needed position.
 .
.
Mixed second batch of silicone, filled the mold cavities (overfill), quickly closed 2 mold parts together, pressed and clamped.
Much much better result. Almost perfect. I still don’t know how to trim the seams without the trace, but I might figure it out or read about it later.
 ..
..
 ..
..
 .
. .
.
Hand Armature Kits are now available.
 .
. .
.
Continues on Part 3.
Thank you!
To be continued…

[…] Continues on Part 2 […]
LikeLike
I really enjoy your work. May I ask, is the process of making a flexible stop-motion puppet “not for the faint of pocketbook”? I had seen a lot of products that I currently do not have, hence my curiosity. As well, I was looking at the shipping for some of those items from the U.S. to Canada.
LikeLike
Hi, Mr. Robin, thank you for watching my blog.
Well, it depends how fancy you want to be with your puppet. What do you want your puppet to do? Please let me know. Shipping to Canada – 10 dollars for the total package weight of up to 8 oz, 16 dollars for the weight of up to 2 lbs.
LikeLike
[…] Continues from Part 2. […]
LikeLike
Amazing flexible hands! I’m not sure I’ll ever attempt a puppet, but I’m fascinated with the process and do plan to use the armature parts in a polyclay doll one day. Thank you for the clear explanation and photos!
LikeLiked by 1 person
[…] I did it the other way – glue the stretch foam with Fabritac on the armature, like I did on silicone hands. With the thread I can feel the armature move a little bit inside the silicone, stretch foam […]
LikeLike
[…] Please see my the by-step description on how to make silicone hands. […]
LikeLike
[…] Please see the by-step description on how to make silicone hands. […]
LikeLike
Hi
I wanted to ask you if you choose the silicon material because the puppet is intended to the film or there is another reason. I consider buying the full body set but I won’t be able to work that way in silicon. Will it be correct to understand that whatever you show using silicon can be done with polymer clay? Thanks,
Daphna
LikeLike
yes, Daphna! 🙂
LikeLike