Continues from Part 3
Printable pages:
ZIP FILE: MorezmoreHeadFaceAllPages.zip
TEXT ONLY: Morezmore_Head_Face_Sculpted_Eyes_TEXT_ONLY.txt
ПЕРЕВОД НА РУССКИЙ
COVERS:
H. FINE DETAILS – EARS
I. FINAL CLEAN-UP
**************************************************************************
CLICK ON ANY PHOTO TO ENLARGE.
CLICK ON THE LARGER PHOTO TO ENLARGE EVEN MORE.
**************************************************************************
H. FINE DETAILS – EARS
| General reference |
Different types |
|
|
 |
 |
 |
|
| Find and refresh the vertical lines on the sides. |
|
|
|
 |
| Mark line to eyebrow. |
Mark line to eye.
Mark line to nose. |
|
|
|
 |
|
|
| Refresh “1 eye” measurements on eye line: “1 eye” from the outer corner of the eye to the hairline,… |
…one more “1 eye” measurement to the ear (approximately). |
|
|
 |
 |
|
| The ear is tilted slightly back, at a 15 degree angle. |
|
|
|
 |
|
|
|
| Mark the ear canal. |
|
|
|
 |
|
|
|
| Check the symmetry. |
|
|
|
 |
|
|
|
| Add 2 flat oval pieces of clay. |
|
|
|
 |
 |
|
| Seam the clay to the head, smooth toward the front of the head. |
|
|
|
 |
 |
| Outline the ear with a sharp point dental tool, make an large shallow indentation inside the ear, shape the ear lobe. |
|
|
|
 |
| Find again the ear canal, like you did in the Step 76. |
Make a C-shape hole around the ear canal. |
The Step 81 was omitted by accident. Go to Step 82. |
|
|
 |
|
|


| Make a shallow cavity around the C-shape hole and a small shallow cavity in the upper part of the ear. |
Clean up the helix. Make smaller ears than what I made. I need more practice on the ear-making. |
|
|
The ears are done.
I. FINAL CLEAN-UP
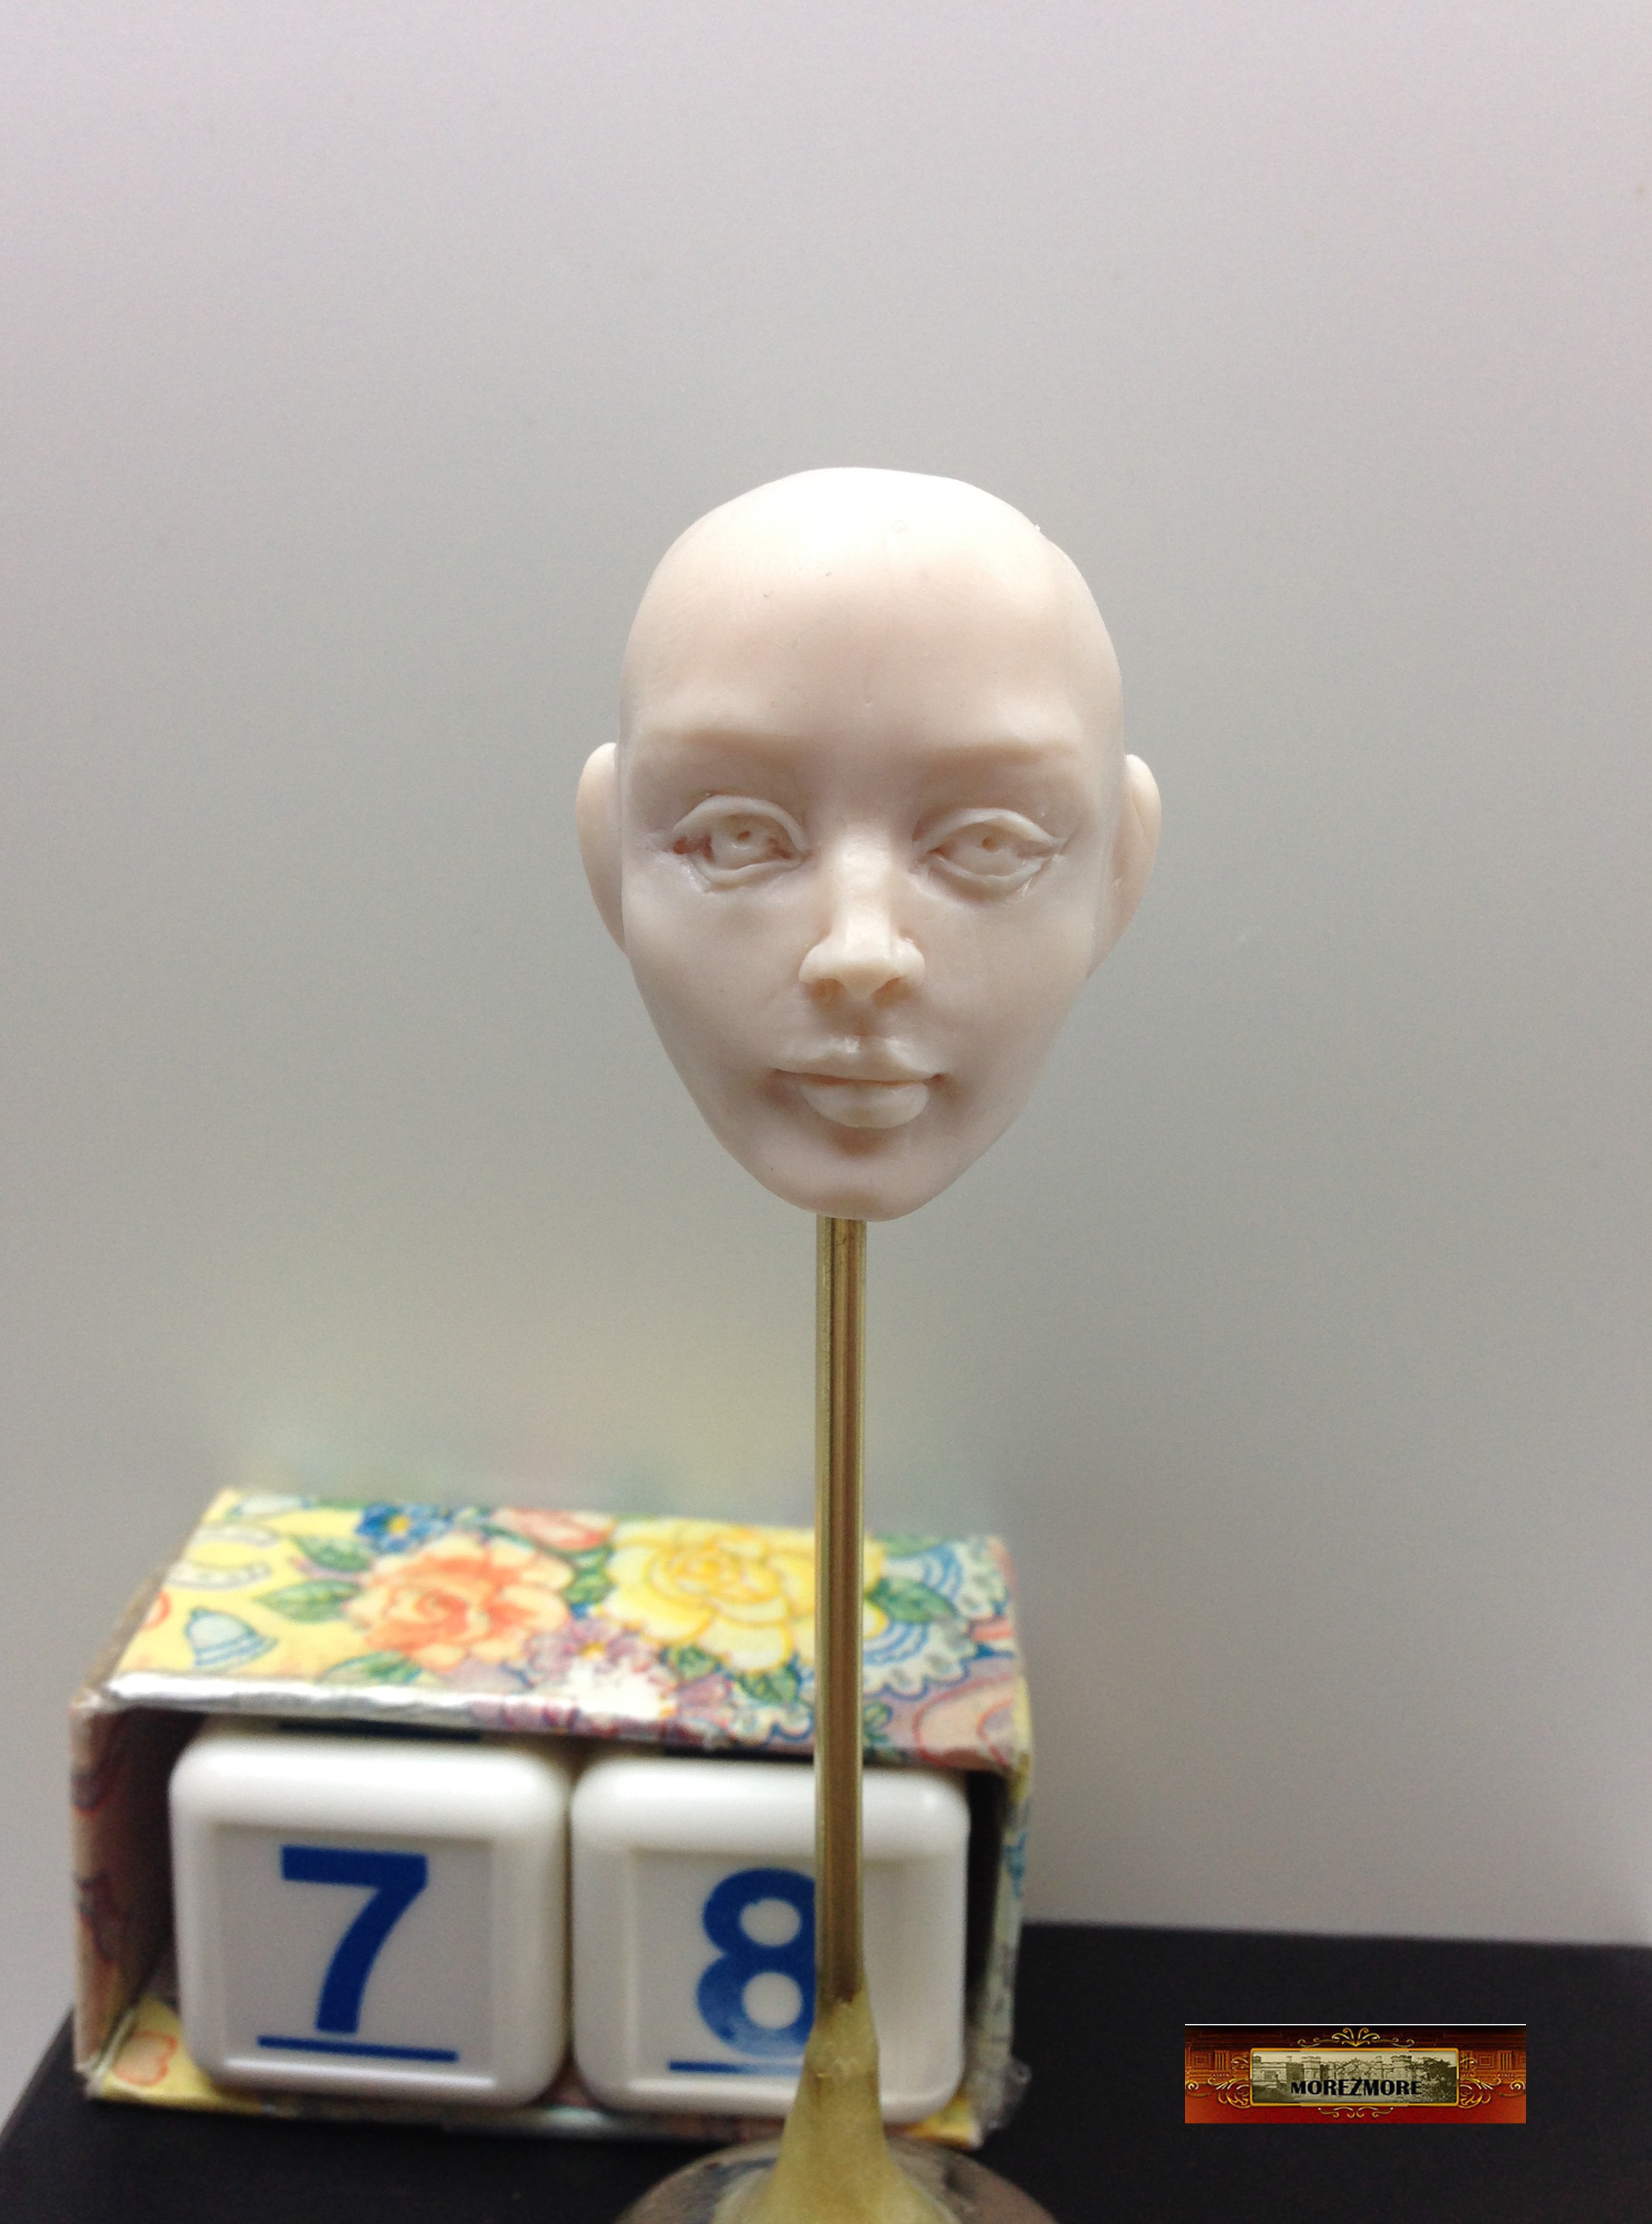
| Take the smoothing brush, dab it in polymer oil, wipe it almost dry. Very carefully, one tiny stroke at a time, smooth out the whole face, try not to ruin the fine details. |
Keep checking for symmetry. Get the magnifier, if you have it. Now it is also a good time to lift the lint fibers, if they are not too deeply embedded in the clay – oil makes them float on the surface. |
However, don’t worry about the “dirt” too much. The “dirt issue” goes away with time, as with practice you will spend less time handling clay and making it dirty with your hands. Leave it as is. |
Bake. |
 |
 |
 |
| A bit of cutting of some of the clay from the back of the head. |
Done! |
|
|
 |
 |
 |
Thank you for reading. Good luck!
Send me the photos of the head when you make it.


[…] The face is complete. Continues on Part 4 […]
LikeLike